Howdy! Happy Friday! I hope all is well with you. I’ve been lovely, thanks for asking. A few things before we get started:
- I don’t know about you all, but I survived my first full week back at work, post-holidays. Well, I’m in the process of surviving it. Is it 5 pm yet?
- If you’re interested in receiving delicious, homemade baked goods (and you live in the US– sorry ’bout it), follow me on Twitter and use #NatTravels to guess where my next big trip will be. The person(s) who guess the closest will win some goodies!
- Also, I’m ready for it to be summer. The pedicure I got last night only strengthened my toes’ desire to be in flip flops and sunshine.
Okay, onward we go to this week’s post!
Disclaimer: if you’re going to try making the mug referenced in this post’s title, read the final paragraph in this post before attempting/getting your hopes up. Just in case.
Each year for Christmas, a couple of friends and I exchange gifts. It’s typically a Secret Santa-type exchange, it’s usually set at a $15-20 amount, and it’s always themed. One year we did socks, another we did Christmas ornaments. This year, we did coffee mugs.
See, Alice, Shay and I all love coffee mugs. Pretty colors: check. Funny sayings: absolutely. Massive in size: you’d better believe it. Because $15 is a ridiculous amount to spend on one coffee mug (okay, so it sounded like it until I went shopping for one..), we decided to include the option to add coffee or tea to the gift.
I decided I was going to be super crafty and awesome, so I was going to personalize a mug for my “person” Alice. I read once on Pinterest that if you have a ceramic mug, you can draw on it with a Sharpie, bake it in the oven for 30 minutes at 350 F and it will make the ink stay permanently. One would think that a permanent marker would stay permanent without the baking process, but what do I know? Here’s how I got crafty for this exchange..
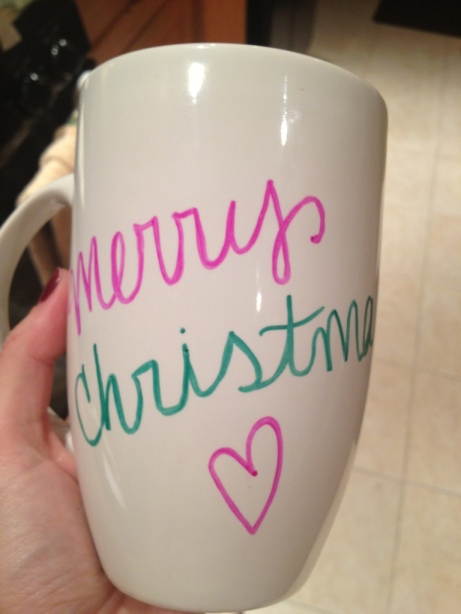
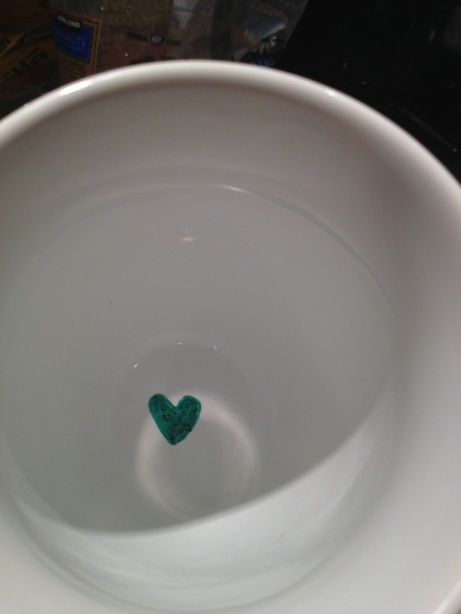
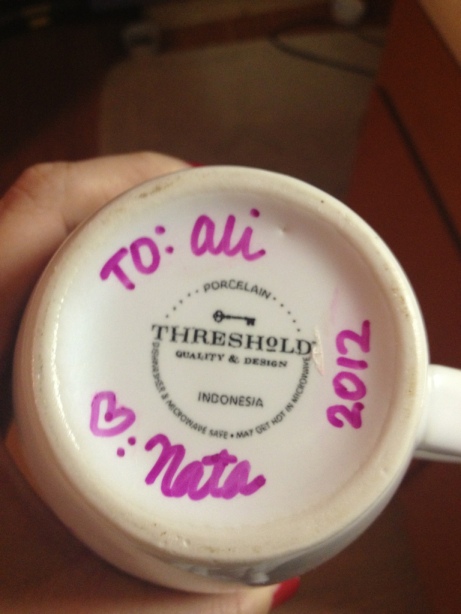
I found a plain, ceramic mug at Target. I washed and dried it, all while debating what I was going to write or draw on this sucker. I grabbed a festive combo of colors: pink and green. Then I very, very carefully wrote my message on the cup, drew a heart on the inside (so tough to do!) and a cute message on the bottom. I placed my project on a cookie sheet in my pre-heated oven, and set a timer for 30 minutes. I cleaned up my Magic Cookie Bar mess , watched the rest of Tosh.0 (don’t judge me), and 30 minutes later, took my mug out. Voila, it was done!
I was really pleased with the way the mug turned out. If I was a bit more artistic, I would have made it more fancy, but I’m really only good at drawing stick figures.
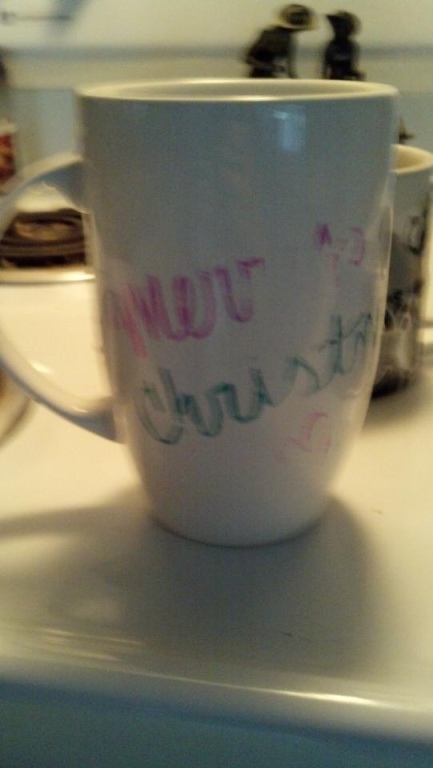
Update: I gave Alice her cute and festive Christmas mug during our exchange. A few days later, I receive a text with the following picture attached:
Can you believe Pinterest lied to me?! I was devastated. Okay, not really. Shay and I had briefly discussed how someone would be likely to fall for some crazy “cure” for something like strengthening one’s hair or getting the smell out of a room if we posted it. Obviously we didn’t follow through– we just thought it was funny and that people would likely fall for it. After getting that text from Ali, I felt like how we thought one of those people might feel after falling for our imagined prank– pissed.
So, I went back to the pin I found the idea on. This time, I actually clicked it and was directed to the blog post on A Beautiful Mess. I read through all directions, cursing each step as I realized I had followed them to a T (yes, a capital one). A paragraph later, I noticed an update to the directions which notes that other people are having the same issues my poor, sweet, defenseless mug was subjected to. Anyway, the fix, apparently, is to use Pebeo Markers instead of Sharpies. I’ll test it out. Hopefully, it will work and Ali’s cute, DIY mug will be restored to its adorable glory once more.



I did a similar project for my anniversary on wine glasses for my husband and I and had the same smushy results. Maybe when he gets back from Afganistan I’ll redo the glasses with these “new” markers. 🙂
I really hope it works! There are more tips on Craft Fail (http://craftfail.com/) which I found after they retweeted my fail 🙂
any more ideas, suggestions, etc.?
Some commenters on Craft Fail recommended baking it at a higher temperature (425 F), baking it longer, using oil-based Sharpies, or using the Pebeo pens I mentioned seeing on A Beautiful Mess. I haven’t tried to fix the mug yet, but when I do, I’ll let you know!
Pingback: Pasta with Sausage and Globe Tomatoes « In Natalie's Shoes
Pingback: Pasta with Sausage and Globe Tomatoes | In Natalie's Shoes