In honor of my birthday, I figured I’d post something birthday-related. Late last month, in addition to the s’more brownies, I made this recipe for my Uncle David’s 50th birthday/surprise Giants game event. He’s not much of a sweets guy, so my aunt told me to make whatever I wanted to bring for the group of 20 or so. Okay, I also have to confess something: the title is partially a lie. But before you curse me for making you think there is something as simple as a no bake birthday cake, hear me out.. it’s not a cake, but it tastes like one! P.S. it also has only four ingredients!!!
In search of a recipe, I was perusing Rosie’s blog (Sweetapolita) in my blog digest, when I stumbled upon this gem of a recipe. I didn’t even bother to test it first, it seemed too easy to mess up and sounded too good to pass up! Rosie gives credit to Jessica of How Sweet It Is.
The things I did differently: used yellow cake mix instead of white cake mix (I had it leftover from an attempt at birthday cake cookies.. which reminds me, maybe I’ll post that up sometime..); used white baking chips (for the debate on baking vs. actual chocolate chips, click here); used more dark chocolate than originally listed (the bag I bought was 10 oz., and who am I to let perfectly good dark chocolate go to waste unused?), and because my freezer is very narrow (#sidebysiderefrigeratorproblems), I used my refrigerator to chill the chocolate, rather than the freezer. Below is my version of the recipe.
Ingredients
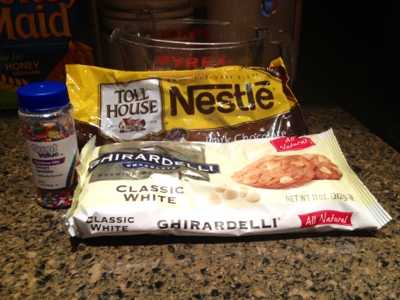
- 10 ounces high quality dark or extra dark chocolate (I used Nestle Dark Chocolate Chips)
- 12 ounces high quality white chocolate (I used Ghirardelli Classic White Baking Chips)
- 3 teaspoons yellow cake mix
- sprinkles of choice (I used rainbow jimmies)
Directions
- Line a baking sheet with parchment paper or a silicone baking mat.
- If using chocolate squares or bars, chop chocolate.
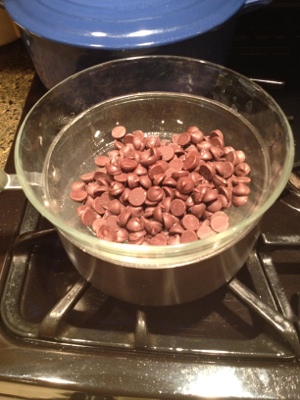
- Melt dark chocolate either in the microwave or a double boiler. If using microwave, place chopped chocolate in a microwave-safe container, and heat for 20 second intervals, stirring each time with a silicone spatula. Be careful not to burn the chocolate–when there are just a few small bits left unmelted, you can simply continue to stir until it is completely smooth.
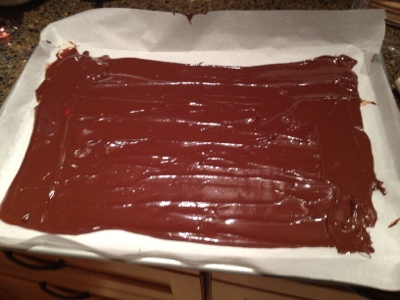
- Pour melted dark chocolate onto your parchment/mat and spread (with a small offset spatula for ease) until desired thickness is achieved. Refrigerate/freeze for 20 minutes to set.
- Melt your white chocolate. Whisk in cake mix slowly, stirring well until smooth. Let it sit for approximately 3 minutes (or at least until it slightly thickens).
- Remove pan with set chocolate from the freezer and pour white chocolate on top, repeating the same spreading technique as you did with the dark chocolate. Toss sprinkles on right away. Refrigerate/freeze for 20 more minutes, or overnight, to ensure that it’s set.
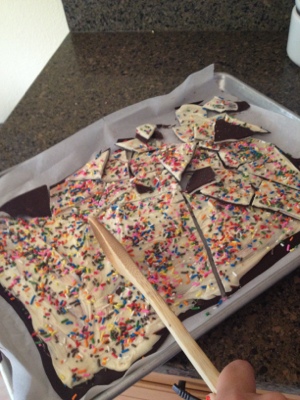
- Once set, break or cut into pieces. (I used a wooden spoon to beat the bark into
submissionpieces.) Store in an airtight container in the refrigerator.
Warning: this does melt together extremely easily! By the middle of our birthday tailgate at the Giants game, the bag of “bark” had reformed into a single mangled glob of chocolate.
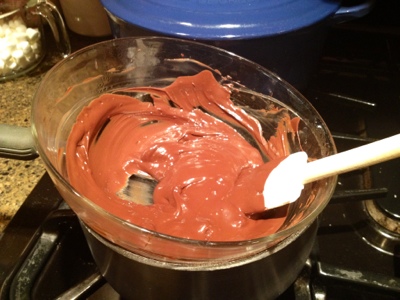
As soon as there are only a few pieces of chocolate left, turn off the stove and let the heat from the melted chocolate do its thing!
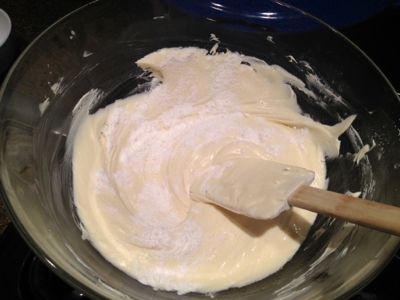
Once the white baking chips/chocolate is melted, add in the cake mix. Stir well to ensure no lumps of mix stay in the chocolate.
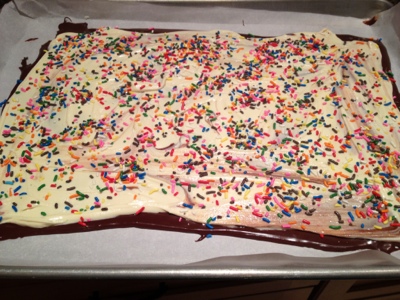
As you can see, I took too long in spreading out the top layer and it remelted the chocolate below it in the bottom corner. Work fast!
Although the bark got a little messy toward the middle of the tailgate, it was still delicious! And I should have known better than to have left it out of the ice chest on a sunny day in San Francisco (almost an oxymoron, right?). I also learned that I should probably have doubled the recipe to get the amount of bark I’d wanted, but some people thought that the bark was so rich, they wouldn’t have been able to eat too much more. I think this could also be a cute gift for someone on their birthday (in a mason jar or cello bag with cute ribbon) or perhaps, altered for a holiday (dye the white chocolate orange and use black sprinkles?). Could this count as craftiness? Perhaps I’ll tag it as such!
Continuing on this “birthday” trend, I’m going to post a bit more than usual this week and share some of the exciting food, wineries, and trips from my birthday celebration. Woo hoo!


Pingback: My Love Affair with Thai « In Natalie's Shoes
Pingback: The Best Ever Sesame Chicken « In Natalie's Shoes